
Are you itching to make resin coasters for your coffee table or your best friend’s birthday? If so, this is going to be your informative hub for all things related to DIY coaster making.
Maybe you’ve read some of these things before, only to find that the actual creation and design process is much harder than the guide makes it sound. The thing is, resin art takes time! Personally, I’ve got 5 years experience behind me that has gone into making this guide as helpful and realistic as possible, even if you’re a beginner.
Below, you’ll learn all that you should know about resin coasters (and the process of making them), including:
- The materials you’ll need to do it right
- The step-by-step process of creation & Potential problems to watch for
- Top design ideas to make your coasters stand out
Must-have materials for your resin coasters
Let’s start out with the materials that you need to properly take on your resin adventure. The list to work from reads:
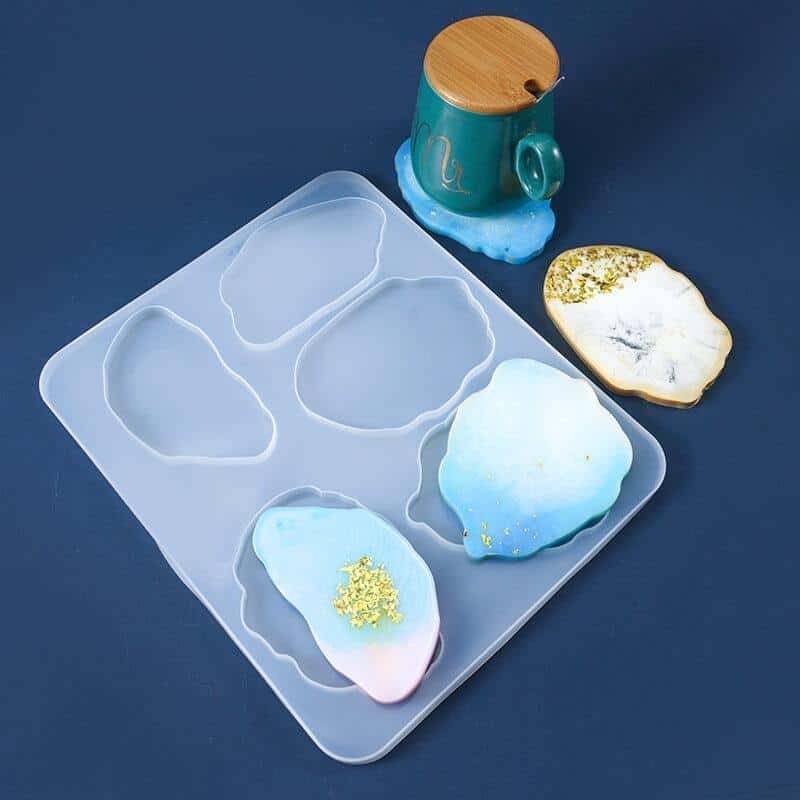
- Silicone coaster mold
- Resin of choice
- Additives for decor
- Measuring cups
- Mixing cups
- Stir sticks
- Gloves
- Bumpers
For the best experience and the best safety, don’t skip any of these steps! Preparation is going to be a key ingredient to making sure that you can create resin coasters that are going to be unique, successful, and just exactly as you picked them.
Don’t skip the safety gear, of course, and make sure that your silicone coaster mold is a great quality one that is the right size, shape, and is in good condition with no imperfections or awakenings that may impact the curing process. Can’t decide which resin to get? Get a few options (more on that below).
The most important detail for “materials”, while not a physical thing, technically, is time. Full curing takes up to 72 hours and in order for your coasters to be glossy, successful and impressive even to your own eyes, you need to be patient!
The process of making resin coasters
Now that you are ready to go, there are 8 separate steps that you’ll want to follow to make sure your creation is successful! Just as important as the steps, is the order of them, so make sure you don’t skip any!
Step 1: are you prepared?
Yes, we just went over this step, but it’s important to make sure that you have all of your materials and supplies right there in front of you so you don’t have to get hassled or stressed trying to find something.
Also included in this step is making sure that you know how to use your resin and your molds. Take the time to read your instructions and get a feel for how everything works to prevent mistakes when you start.
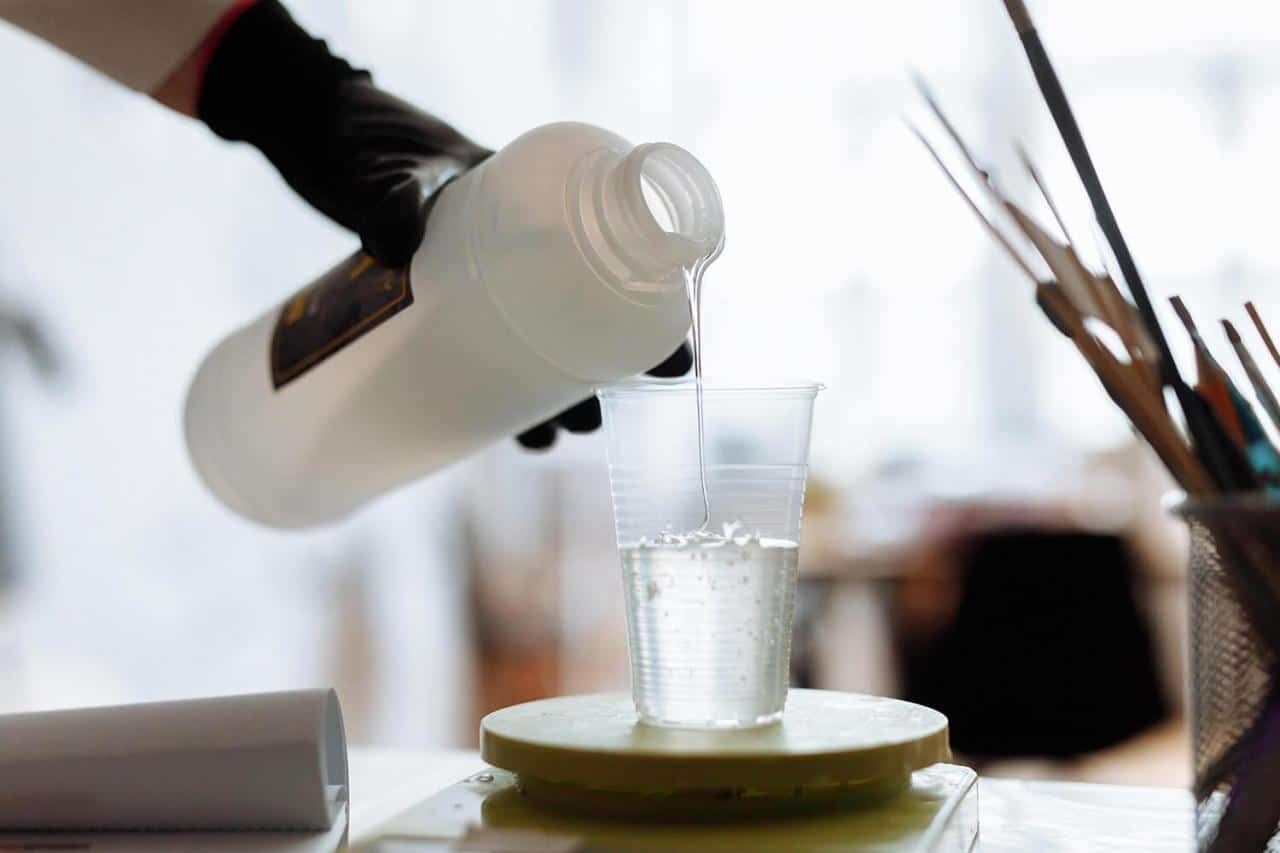
Step 2: mix up your base layer of resin
The first creation phase is to mix up the base layer of resin, which is going to be the top of the coaster when you are finished. Mix it up using your cups and sticks. Stir the resin vigorously to help get any air bubbles out. Then, spread it out into the mold to make a thin layer.
Use your stick to pop the air bubbles out (don’t use a lighter or any kind of heat, as this may damage your mold).
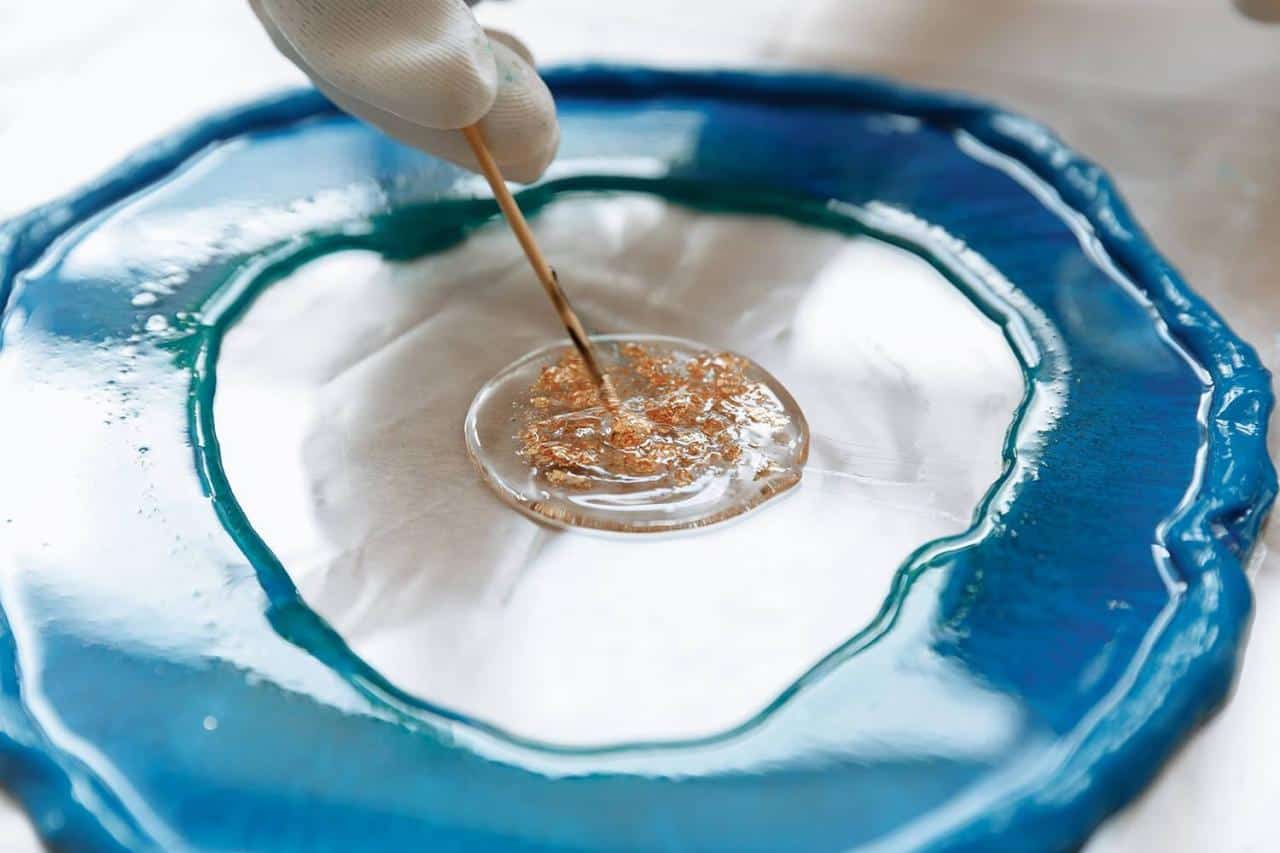
Step 3: add your sparkles or items
Now is the time to add in any kind of sparkles or flower petals, paper, etc. Whatever you had in mind to add in, you can do it in this step, as the first layer will cure it into the resin and hold it steady for the next layer.
They will need to cure for around 4 hours. Cover your molds to keep them totally free from dust, pet paws, and more as they are curing! Most importantly, don’t touch!
Step 4: add a second coat on top
When that layer is done and cured, you’ll want to add your next layer of resin on top of it. This can be the same color, or another one that you are going with as part of your design. Do whatever feels like your design!
This will be a blend of your resin and a glaze coat (for that glossy appeal). Make sure you use the ratio recommended on the package for the best results!
When you’ve poured this layer, be extra sure that it’s level! Pro tip: choose a self-leveling resin for this particular stage.
Step 5: pop bubbles
We’ve talked about popping bubbles before, but this stage is extra special. This particular layer will often have quite a few air bubbles to it! You can help minimize those by stirring well within the mixing cup.
Still, make extra sure that you pop the bubbles from all possible locations in your mold, as this is going to be your last chance!

Step 6: let cure
Now the waiting (sigh). The mold will take anywhere from 36-72 hours. If it is your first time and you don’t know how to tell when it’s cured, wait the full 72 hours. Resist the urge to poke it or take it out. Put it in a covered, safe spot for the full time and wait!
Step 7: peel the silicone mold off
After the time has passed, turn the mold over and slowly, gently peel the mold off the resin. Keep a constant, steady pressure and don’t force the mold. For best results, use a silicone spray to make the demolding easier!
Step 8: add bottom bumpers
Once you get it out, all that’s left now is to add the stick-on bottom bumpers in the corners so that it’s a real, official coaster!
Congratulations, you’ve made your very own resin coasters! Pretty neat, right? Now that you’ve got the hang of it, let’s get creative…
Design ideas for your resin coaster molds
If you want some tips and suggestions on making sure that your resin coasters are going to make the splash that you hope for, I’ve got some great suggestions to help you have all sorts of fun!
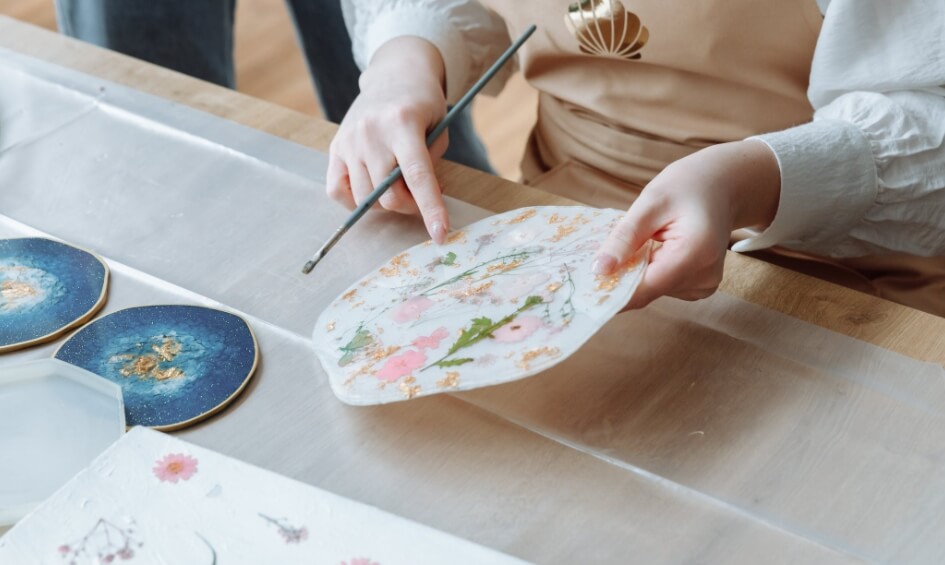
Firstly, play around with those additives! From sequins to flower petals to papers, to other surprises, just really get creative! It’s a whole lot of fun to make something totally unique, after all. Plus, what a neat way to preserve a special lucky clover, right?
For someone special, add in a paper-based personalization. Maybe it’s their name, maybe it’s a photo of the two of your, and so-on. Personalize the coaster to that special person and it’ll be so heartfelt, you’re both going to get a little misty!
For the true artistic adventurists, why not make a scene? For example, a beachfront with sand and turquoise water? It’s all contained in the coaster, so it won’t impact the surface of it! There are all sorts of ideas on the internet just waiting for you!
There is going to be no end of options for creating resin coasters that will add some beauty to these undervalued pieces of home decor. It’s also a great project for beginners when you’re looking at making sure that you are not taking on something too challenging, but still giving yourself something fun to work on! Enjoy, and remember: there’s no wrong way to personalize them!